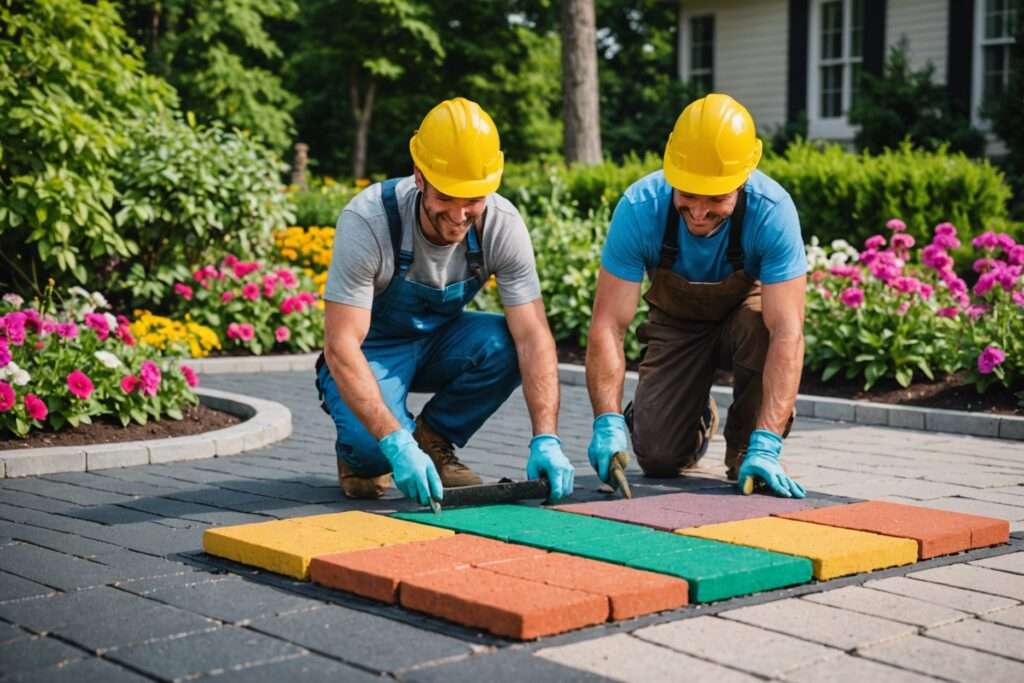
Best Practices for Installing Pavers
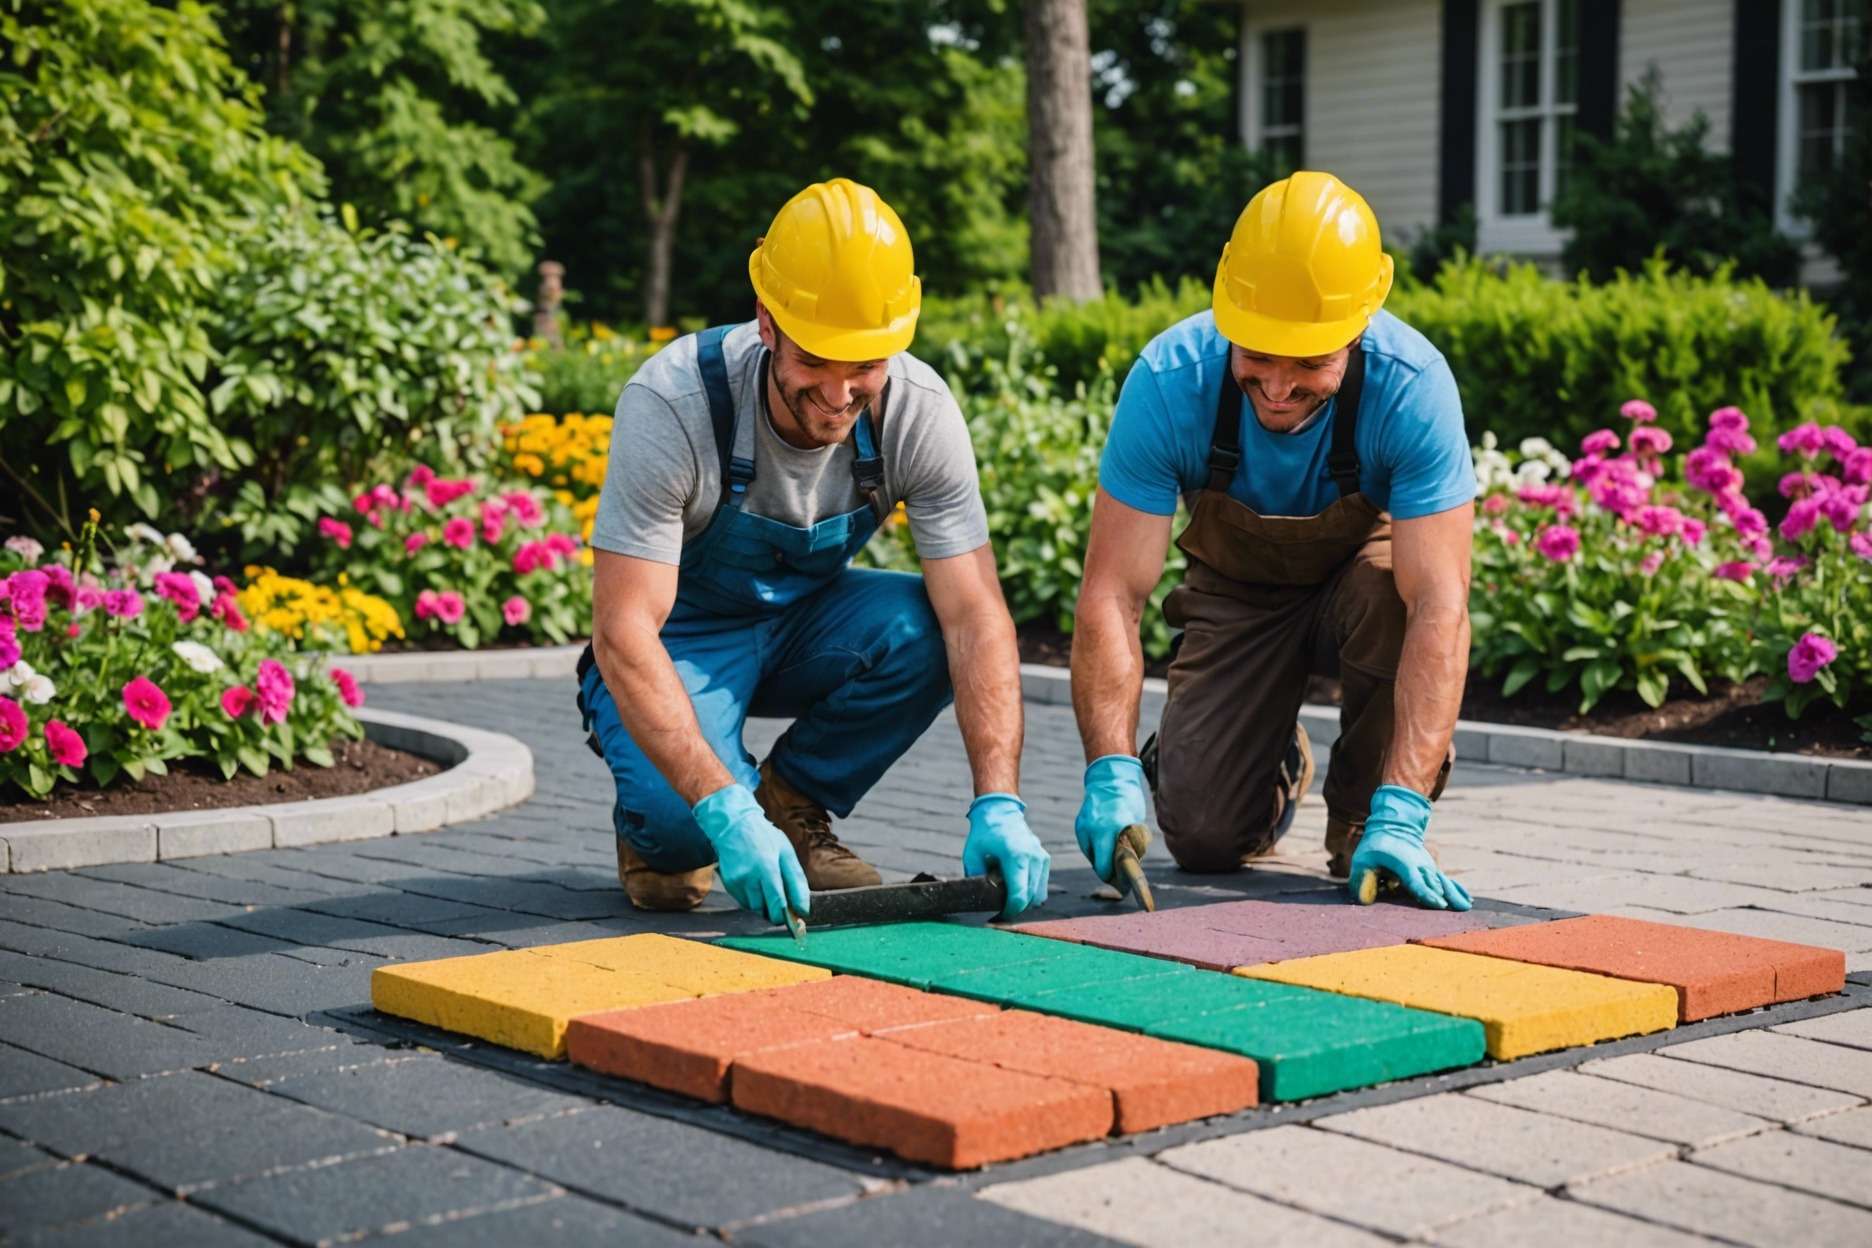
For optimal paver installation, ensure a solid base by preparing a 4-6 inch layer of compacted gravel followed by a 1-2 inch layer of coarse sand for stability and leveling. Always confirm the pavers are snug and level during placement, applying proper drainage techniques and regular maintenance to enhance longevity and appearance.
1. Introduction to Paver Installation
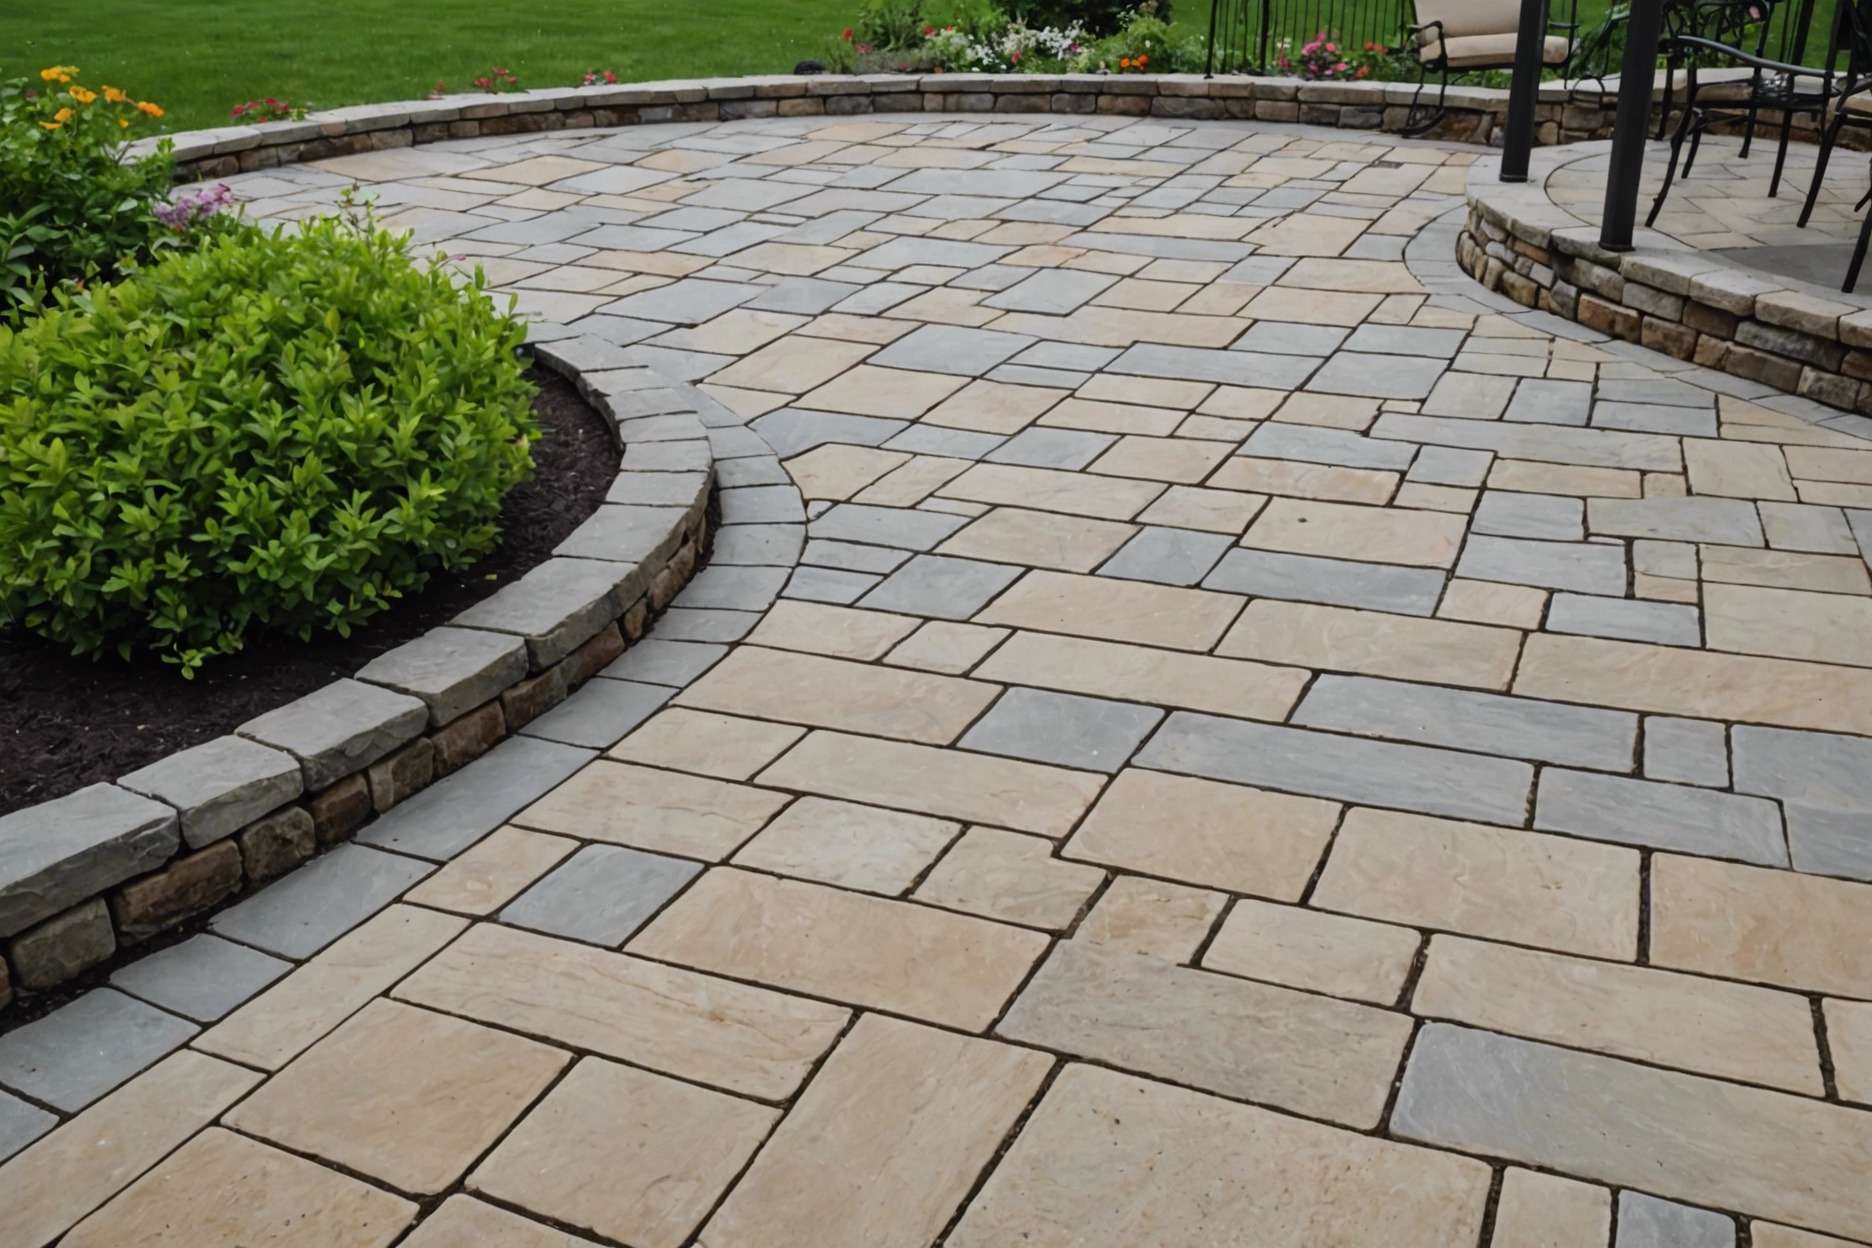
Paver installation is a key process in constructing durable and attractive exterior areas like plazas, walkways, and driveways. Properly installed pavers align with existing curb and sidewalk levels, ensuring a seamless look and functionality.
- Sand Set Pavers: These are cost-effective and suitable for various traffic levels. They need regular maintenance to correct shifting or sinking due to vehicle use.
- Bitumen Set Pavers: These pavers lie in the mid-price range and require a solid base of concrete or bituminous binder. They offer some flexibility but need strong edge restraints to prevent separation.
- Mortar Set Pavers: Known for durability, these pavers involve a more permanent installation and generally require less maintenance over time. They are effective in managing long-term costs.
Applying a durable acrylic coating can protect pavers from wear and tear, enhancing their longevity and appearance. Proper installation techniques are crucial for achieving optimal durability and design outcomes. Learn more about choosing the right paver types and their benefits.
2. Preparing the Base
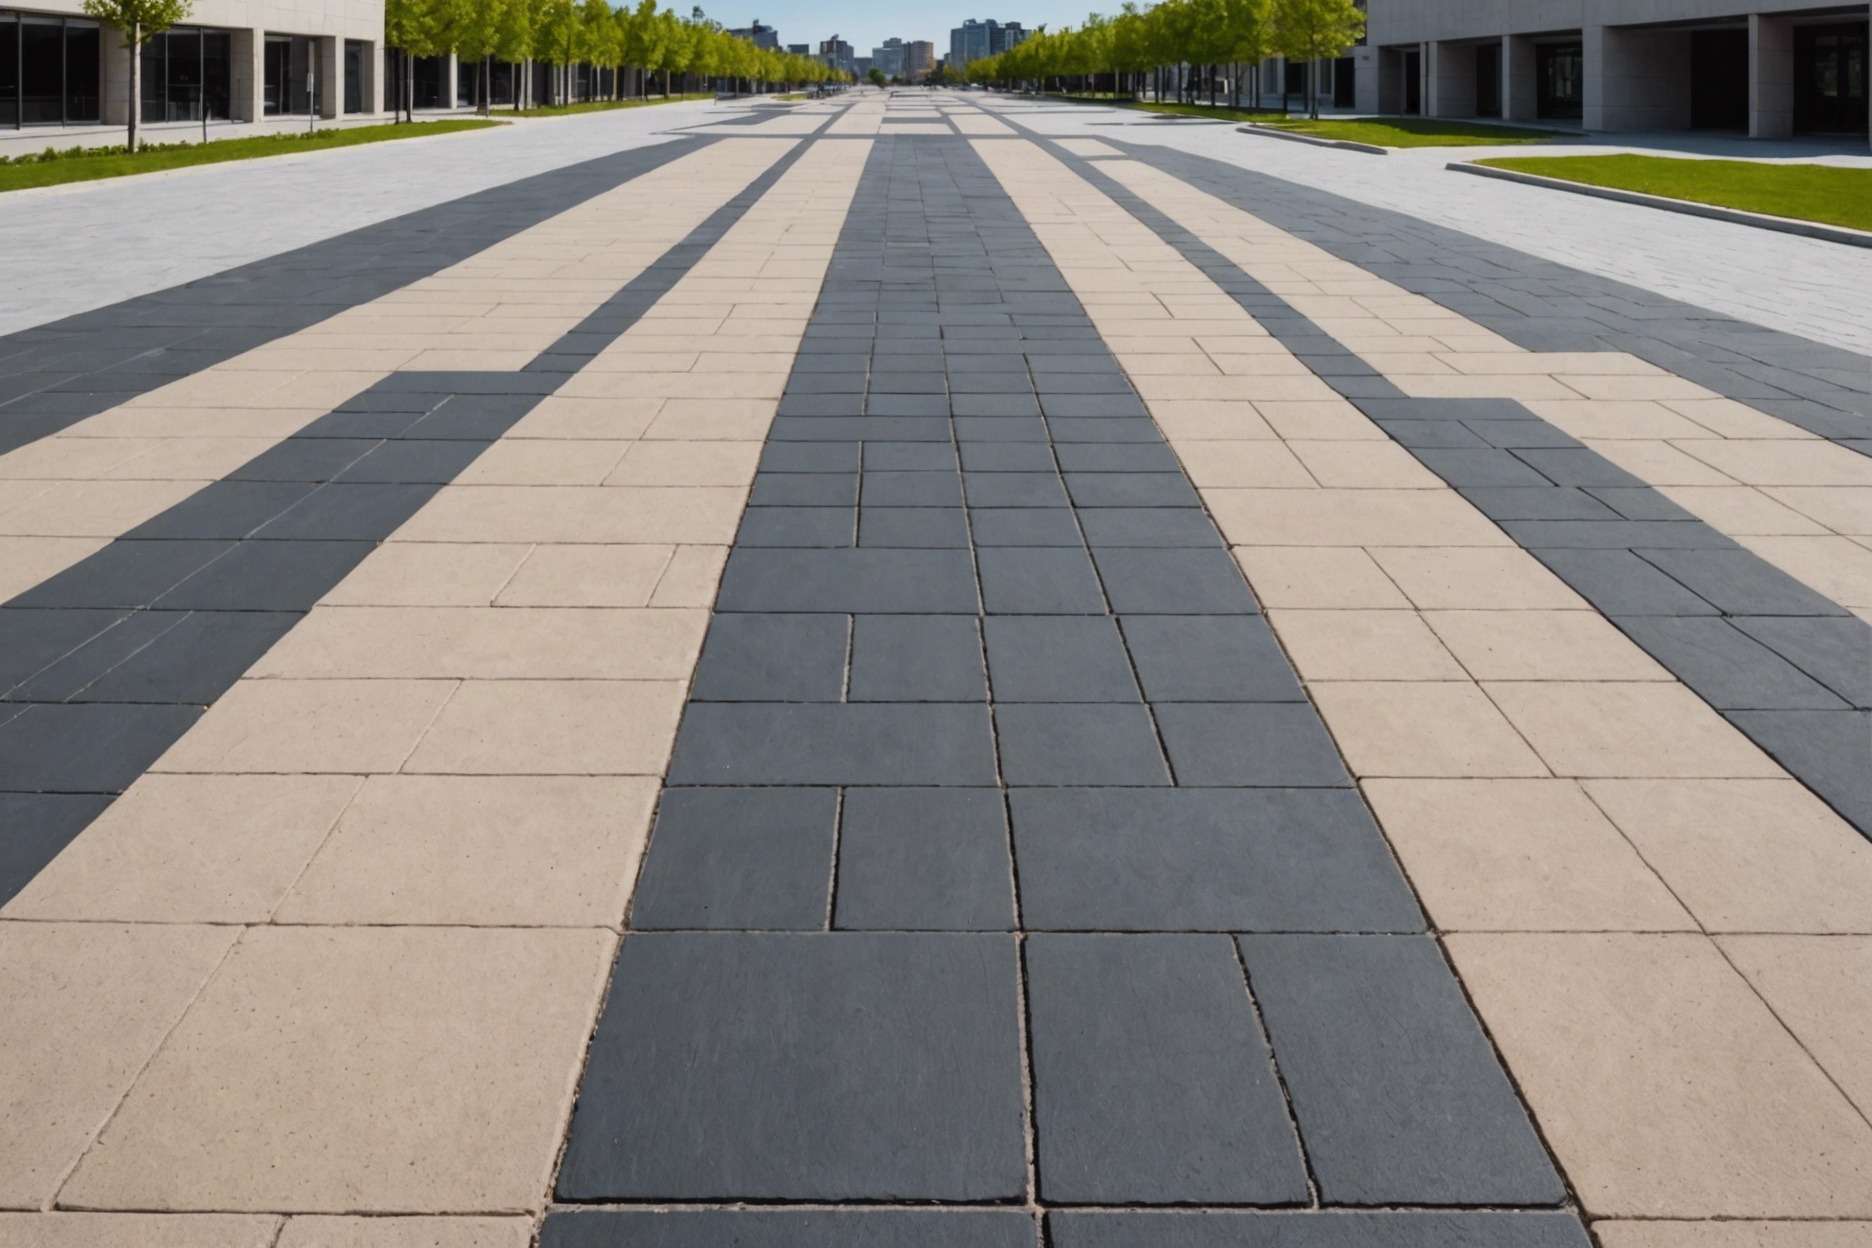
Preparing the base for pavers is key to a successful installation, whether for walkways, driveways, or patios. Here’s how to do it right:
- Layout the Area: Mark the boundaries of your project. Use string, stakes, and the 3-4-5 method to ensure corners are squared accurately.
- Set the Grade: Adjust the slope for proper drainage. This step is vital to prevent water pooling.
- Excavation: Dig out the area to a depth of 7–13 inches, varying by expected traffic type, to accommodate the base material.
- Geotextile Fabric: Lay this fabric over the soil to keep gravel and dirt separate, which aids in compaction and stability.
- Gravel Base: For standard patios, a 4–6 inch layer of compacted gravel suffices. For driveways, double this thickness to support heavier loads.
- Sand Layer: Place 1″ metal rails over the gravel. Spread concrete sand until it levels at 1 inch thick. Use a screed board to level the sand.
- Laying Pavers: Once your base is flat and compact, start placing your pavers, ensuring they fit snugly.
For areas requiring water permeability, consider an open-graded base:
- Materials: Use ASTM #57 (3/4″ crushed rock) and ASTM #8 (3/8″ or 1/4″ crushed rock) for the base.
- Benefits: This base type allows water to flow through, reducing freeze-thaw damage, washouts, and weed growth. It’s also quick to install, which can cut down on project delays.
Remember, proper base preparation is critical for the longevity of your paver installation. Choose the base type that best suits your project’s needs and local weather conditions. Discover additional insights into effective methods for securing joint sand in paver installations.
3. Setting Pavers and Ensuring Level
Setting pavers correctly is key to ensuring they last long and look great. Here’s how to do it:
- Ground Preparation: Start by clearing the site of debris. Plan for a slight slope away from buildings to aid water drainage.
- Base Layer: Lay a 4-6 inch base of crushed stone or gravel for stability, followed by a 1-2 inch layer of coarse sand to help level the pavers.
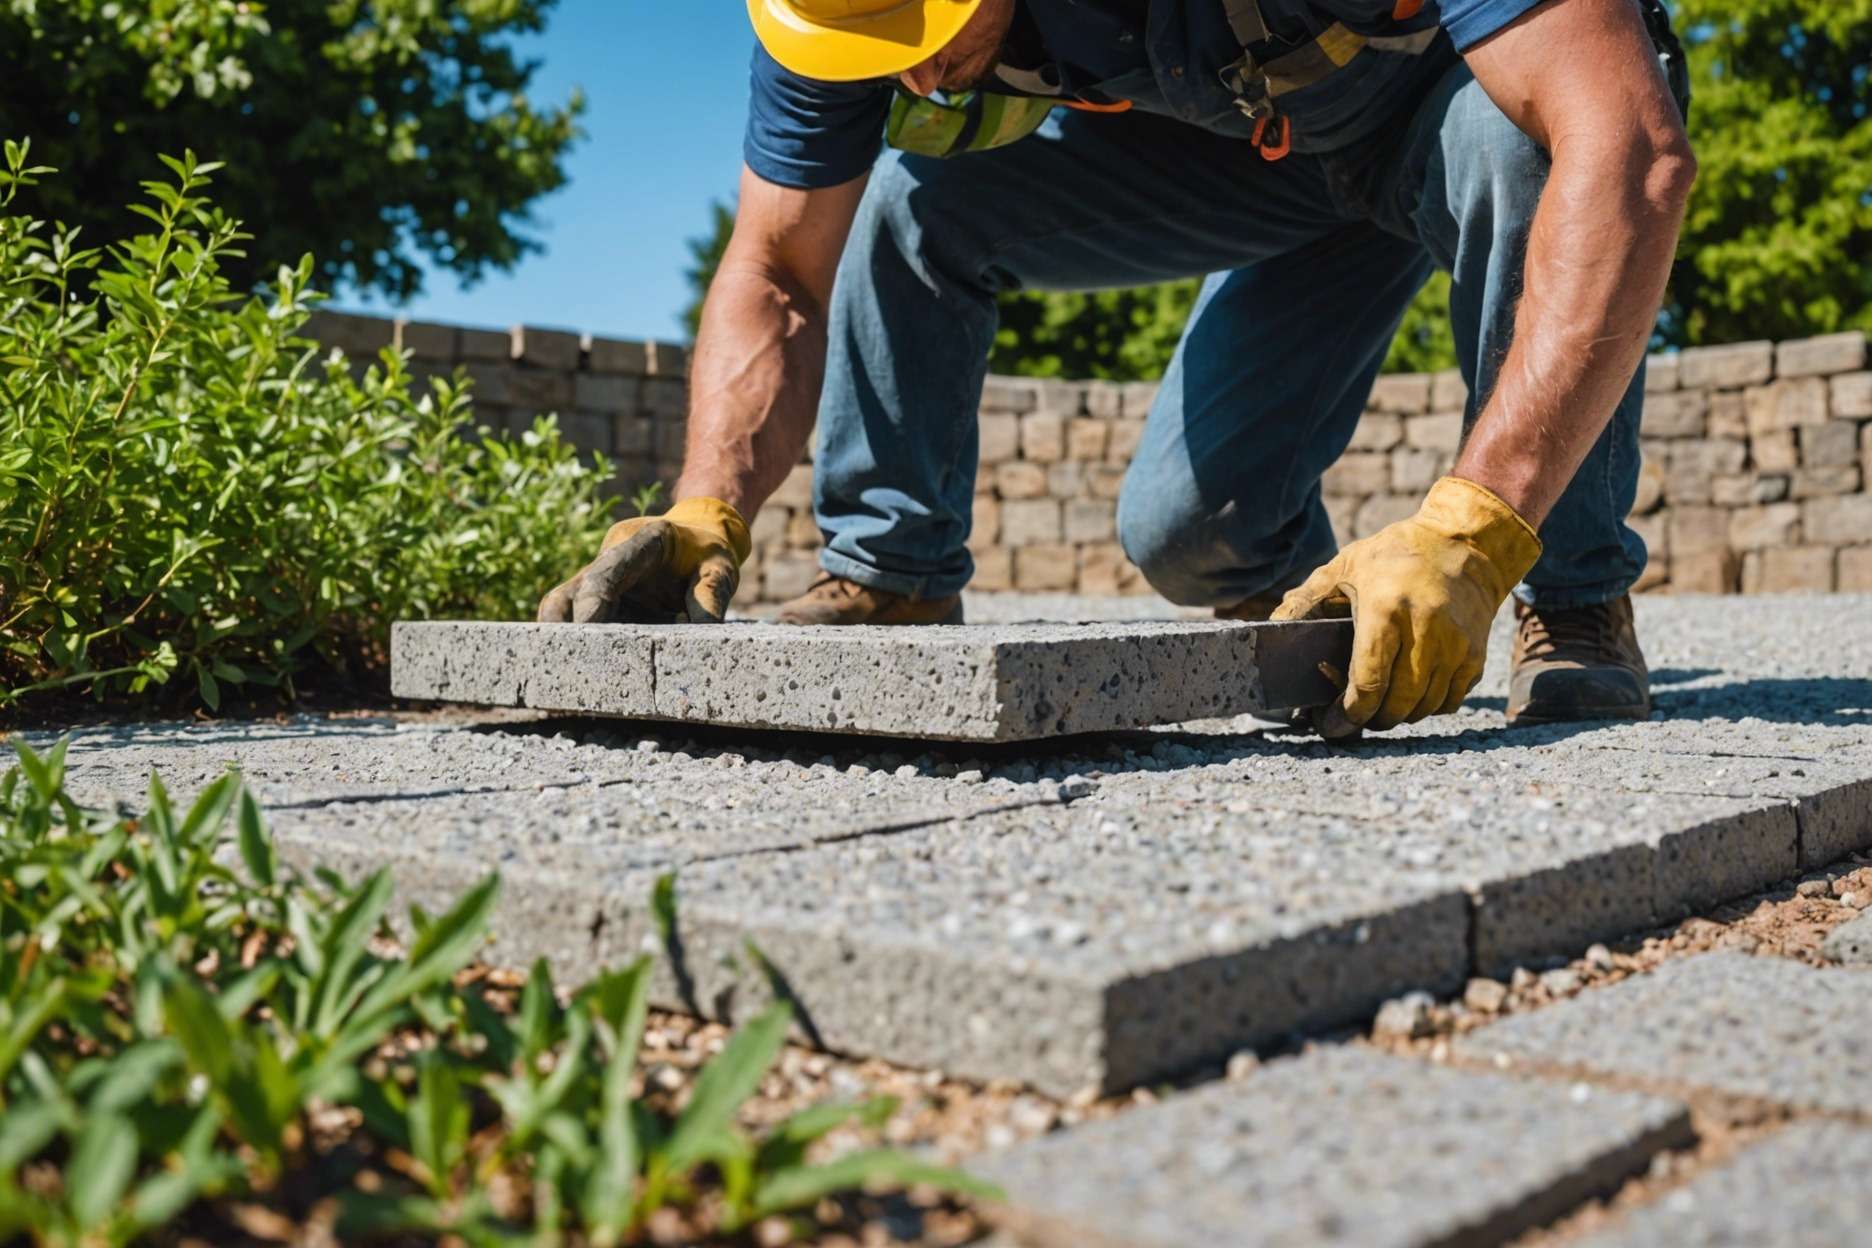
- Laying Pavers: Place the pavers carefully, checking frequently with a level to ensure they are even. Adjust as necessary to avoid water pooling.
- Drainage Considerations: Install geotextile fabric under the gravel base to enhance drainage and prevent weed growth.
- Advanced Drainage Solutions: Consider using permeable pavers or installing storm drains in areas prone to heavy rainfall or poor soil drainage.
- Maintenance: Regularly clean and re-seal paver surfaces to maintain their level and appearance.
By following these steps, you’ll create a durable, stable, and visually appealing outdoor space with proper drainage.
4. Finishing and Maintenance Tips
- Paver and stone patios are durable but require care to maintain their beauty and functionality. Regularly sweep or use a leaf blower to clear debris. For a deeper clean, power wash annually with a wide-angle nozzle to avoid damage, or use a cleaner applied with a firm brush and rinsed with a gentle hose spray.
- Applying a sealant to your patio can greatly enhance its resistance to stains, UV damage, and moisture. Sealants also prevent mold growth and reduce erosion risks. Choose from finishes like high gloss or low gloss depending on the desired look.
- Use polymeric sand in the joints of your pavers to block water penetration and prevent the underlayer from settling. This sand also discourages weed growth and doesn’t wash out easily, stabilizing your patio against shifts and cracks.
- If you notice your patio settling or becoming uneven, assess the cause before making repairs. Issues might stem from poor initial construction or external factors like drainage problems. Address these root causes to ensure long-term stability and appearance.
- Maintaining your pavers isn’t just about aesthetics; it’s about preserving their longevity and functionality. Regular cleaning, sealing, and proper installation of components like polymeric sand contribute significantly to the durability and value of your outdoor space.
For professional assistance with your paver installation and maintenance, consider our Paver Services.
FAQ
What types of pavers are discussed in the article, and what are their characteristics?
Sand Set Pavers are cost-effective and need regular maintenance. Bitumen Set Pavers require a solid base and provide flexibility with strong edge restraints needed. Mortar Set Pavers are highly durable, offer a permanent installation solution, and generally require less maintenance.
How should the base for pavers be prepared?
Firstly, layout the area using string and stakes. Set the appropriate grade for drainage and excavate to a depth suited for your project’s traffic type. Lay geotextile fabric to separate gravel from soil, add a gravel base, and top it with a sand layer which is leveled using a screed board.
What are some best practices for ensuring pavers are set correctly and maintain level?
Begin by clearing the site of debris and plan for a slight slope away from buildings for drainage. Lay down a crushed stone or gravel base followed by a coarse sand layer. Place pavers carefully, using a level to ensure evenness. For better drainage, incorporate geotextile fabric under the gravel base and consider advanced solutions like permeable pavers or storm drains in areas with heavy rainfall.
What finishing and maintenance tips does the article provide?
Regular cleaning using a broom, leaf blower, or power washer, and annual deep cleaning using a cleaner with a firm brush are recommended. Applying a sealant enhances stain resistance, reduces UV damage, and moisture penetration. Use polymeric sand in joints to block water, prevent weeds, and stabilize pavers. Regular maintenance and addressing any root causes of settling or unevenness preserve the functionality and appearance of your pavers.
What options are available if I need professional assistance or more detailed advice on paver installation?
The article suggests considering professional paver services, and provides a link for more details on these services, which can offer tailored advice, installation, and maintenance based on specific project requirements.
