Effective Methods for Securing Joint Sand in Paver Installations

Polymeric sand is the most effective option for securing joint sand in paver installations, as it hardens upon wetting and binds strongly to resist erosion, weed growth, and pests. For best results, ensure that the pavers are dry, sweep the sand into the joints thoroughly, and activate the sand with a light mist of water according to the manufacturer’s instructions.
Introduction to Joint Sand and Its Role in Paver Installations
Joint sand is a key component in paver installations, serving vital roles in both the appearance and durability of paved surfaces. This sand fills the gaps between pavers, locking them together to distribute weight evenly. This helps maintain the structural integrity and extends the life of the installation.
- Types of Sand:
- Polymeric Sand: Best for locking pavers together; hardens when wet to form a strong bond.
- Mason’s Sand: Finer particles, commonly used but requires more frequent replenishment.
- Concrete Sand: Coarse and commonly used for the base layer; not ideal for joint filling as it erodes easily.
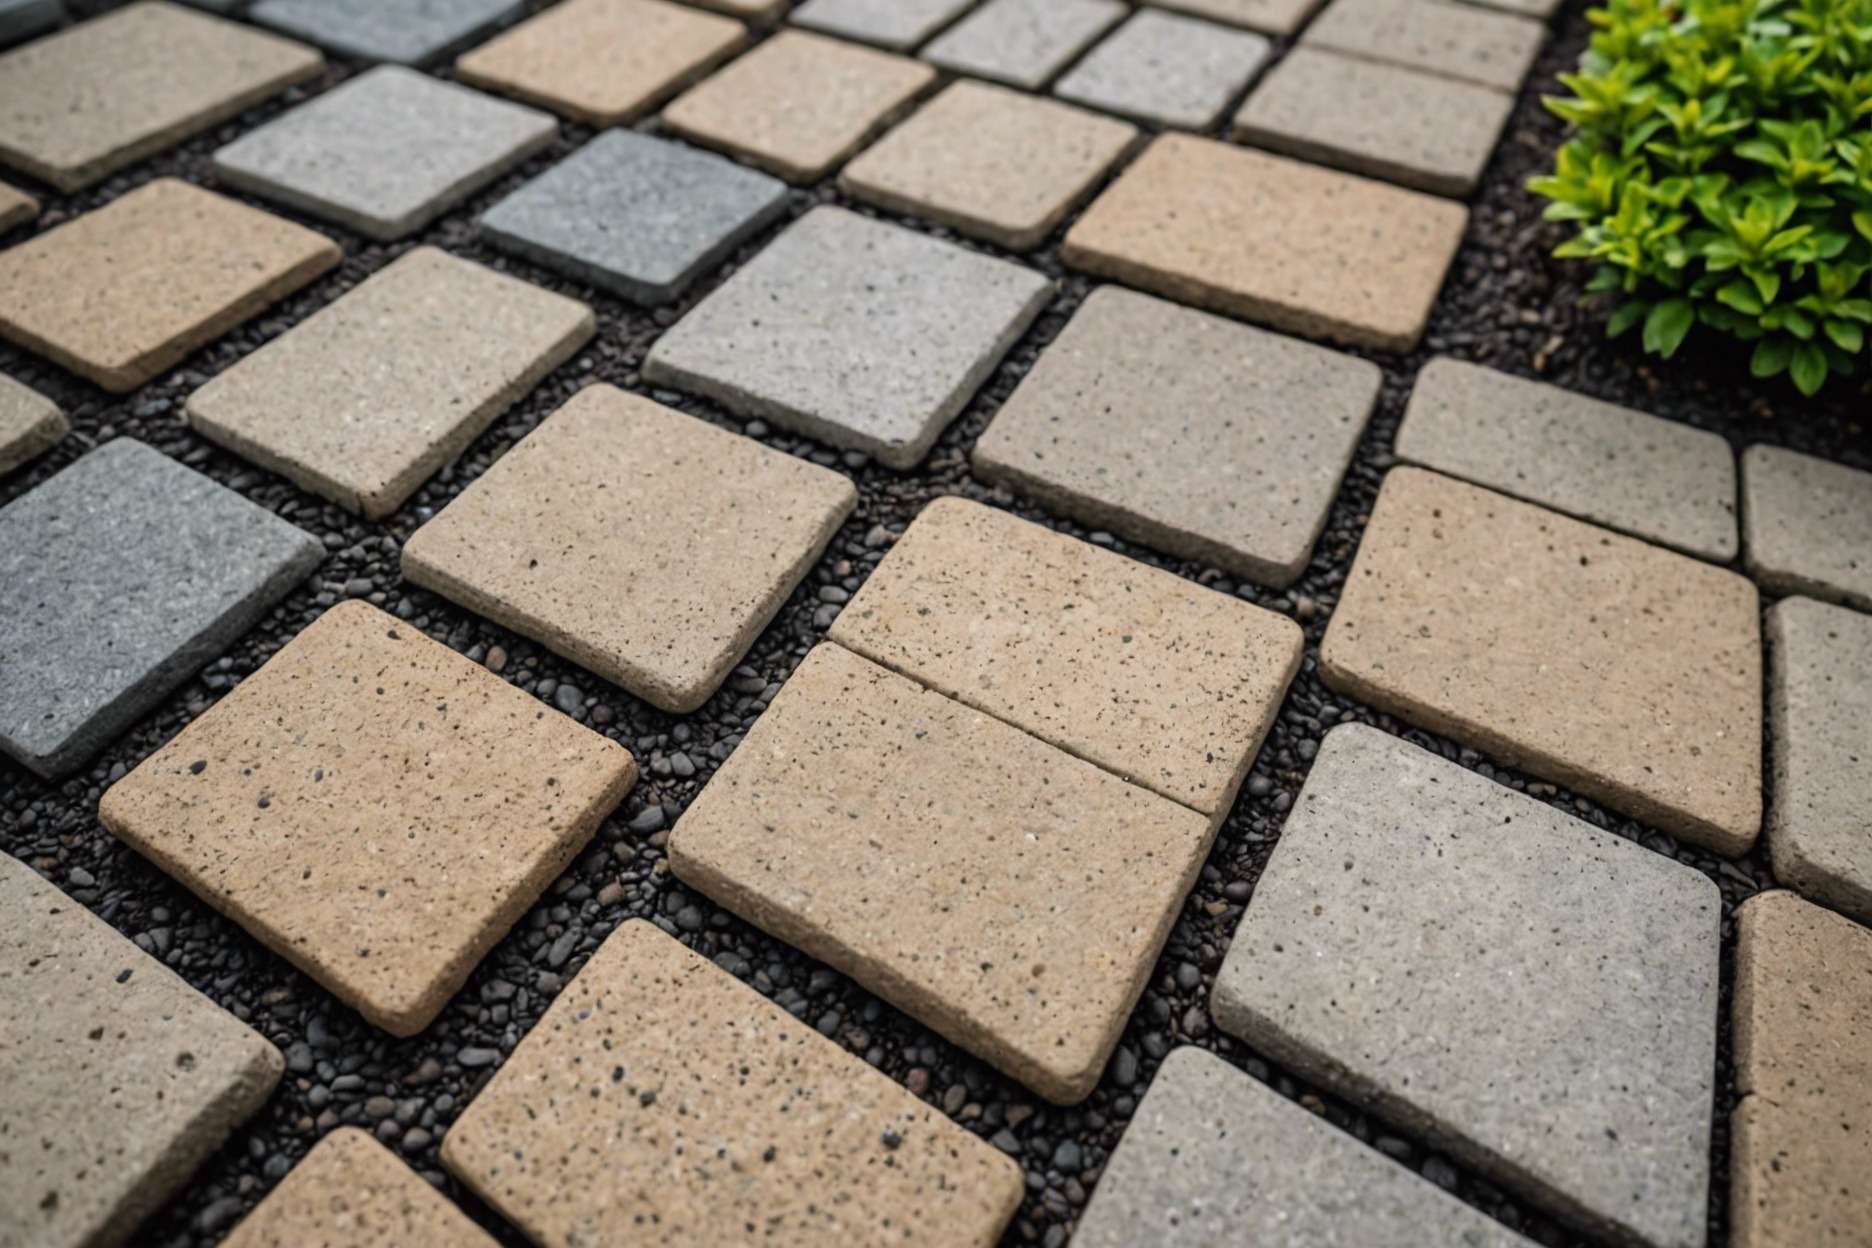
Polymeric sand is highly recommended due to its ability to resist erosion, prevent weeds, and block insects more effectively than other sands. It also comes in various colors to match different paver designs and can last up to 10 years.
Maintaining paver installations involves regular sweeping and deep cleaning every two months. For optimal results and to ensure a perfect installation, it’s often suggested to hire professional help. This ensures the right type of sand is used and applied correctly, safeguarding the long-term beauty and functionality of the paver surfaces.

Choosing the Right Type of Sand for Your Project
When choosing the right type of sand for paver installations, it’s crucial to understand the options and their specific benefits. Here are the main types of sand used:
- Jointing Sand:
- Fine graded sand that helps prevent washout.
- Susceptible to weed growth; can be locked with a joint stabilizing sealer.
- Installation involves sweeping the sand into paver joints and using a plate compactor for consolidation.
- Polymeric Sand:
- Contains polymers and additives that bond when wet, enhancing durability.
- Resistant to washout, insects, and weeds; available in various colors.
- More expensive and requires precise installation for effective performance.
- Does not need a stabilizing sealer.
- Regular Sand:
- Includes types like play sand, masonry sand, or beach sand.
- Not recommended for pavers due to poor interlock and high washout risk.
- If used, choose a jointing sand with larger, angular granules to reduce washout.
Key Considerations:
- Climate: Polymeric sand is preferable in areas with heavy rain due to its resistance to washout.
- Paver Type: The sand choice may depend on the type of paver used; some may need specific sand types for optimal fit and stability.
- Traffic: High-traffic areas benefit from polymeric sand due to its long-lasting and durable nature.
Installation Tips:
- Ensure the pavers are dry and the weather is clear before applying polymeric sand.
- After applying sand, it’s necessary to seal the pavers to lock the sand in place and extend the pavement’s life.
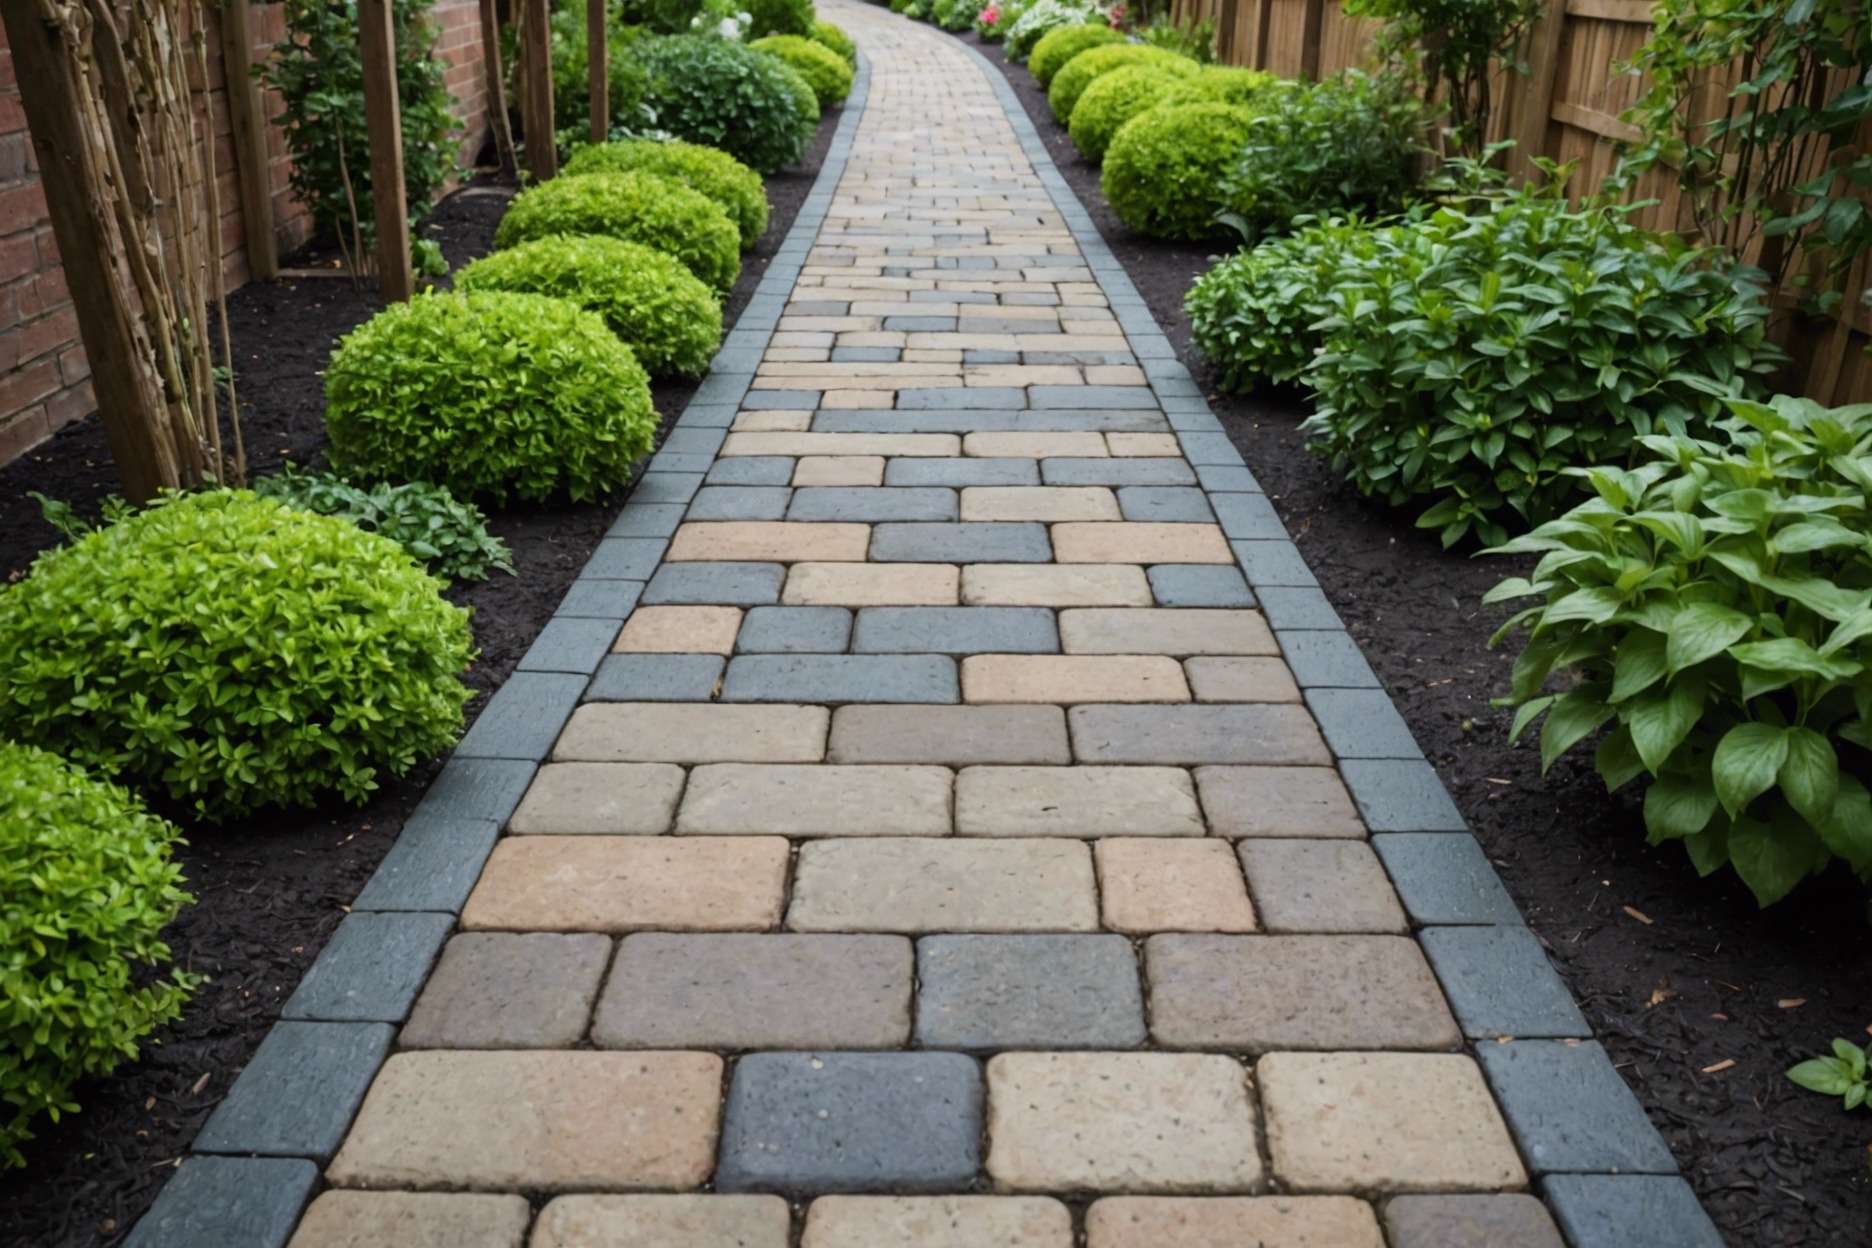
Choosing the right sand not only enhances the look of your project but also contributes to the longevity and stability of your paver installation.
Step-by-Step Guide to Applying Joint Sand
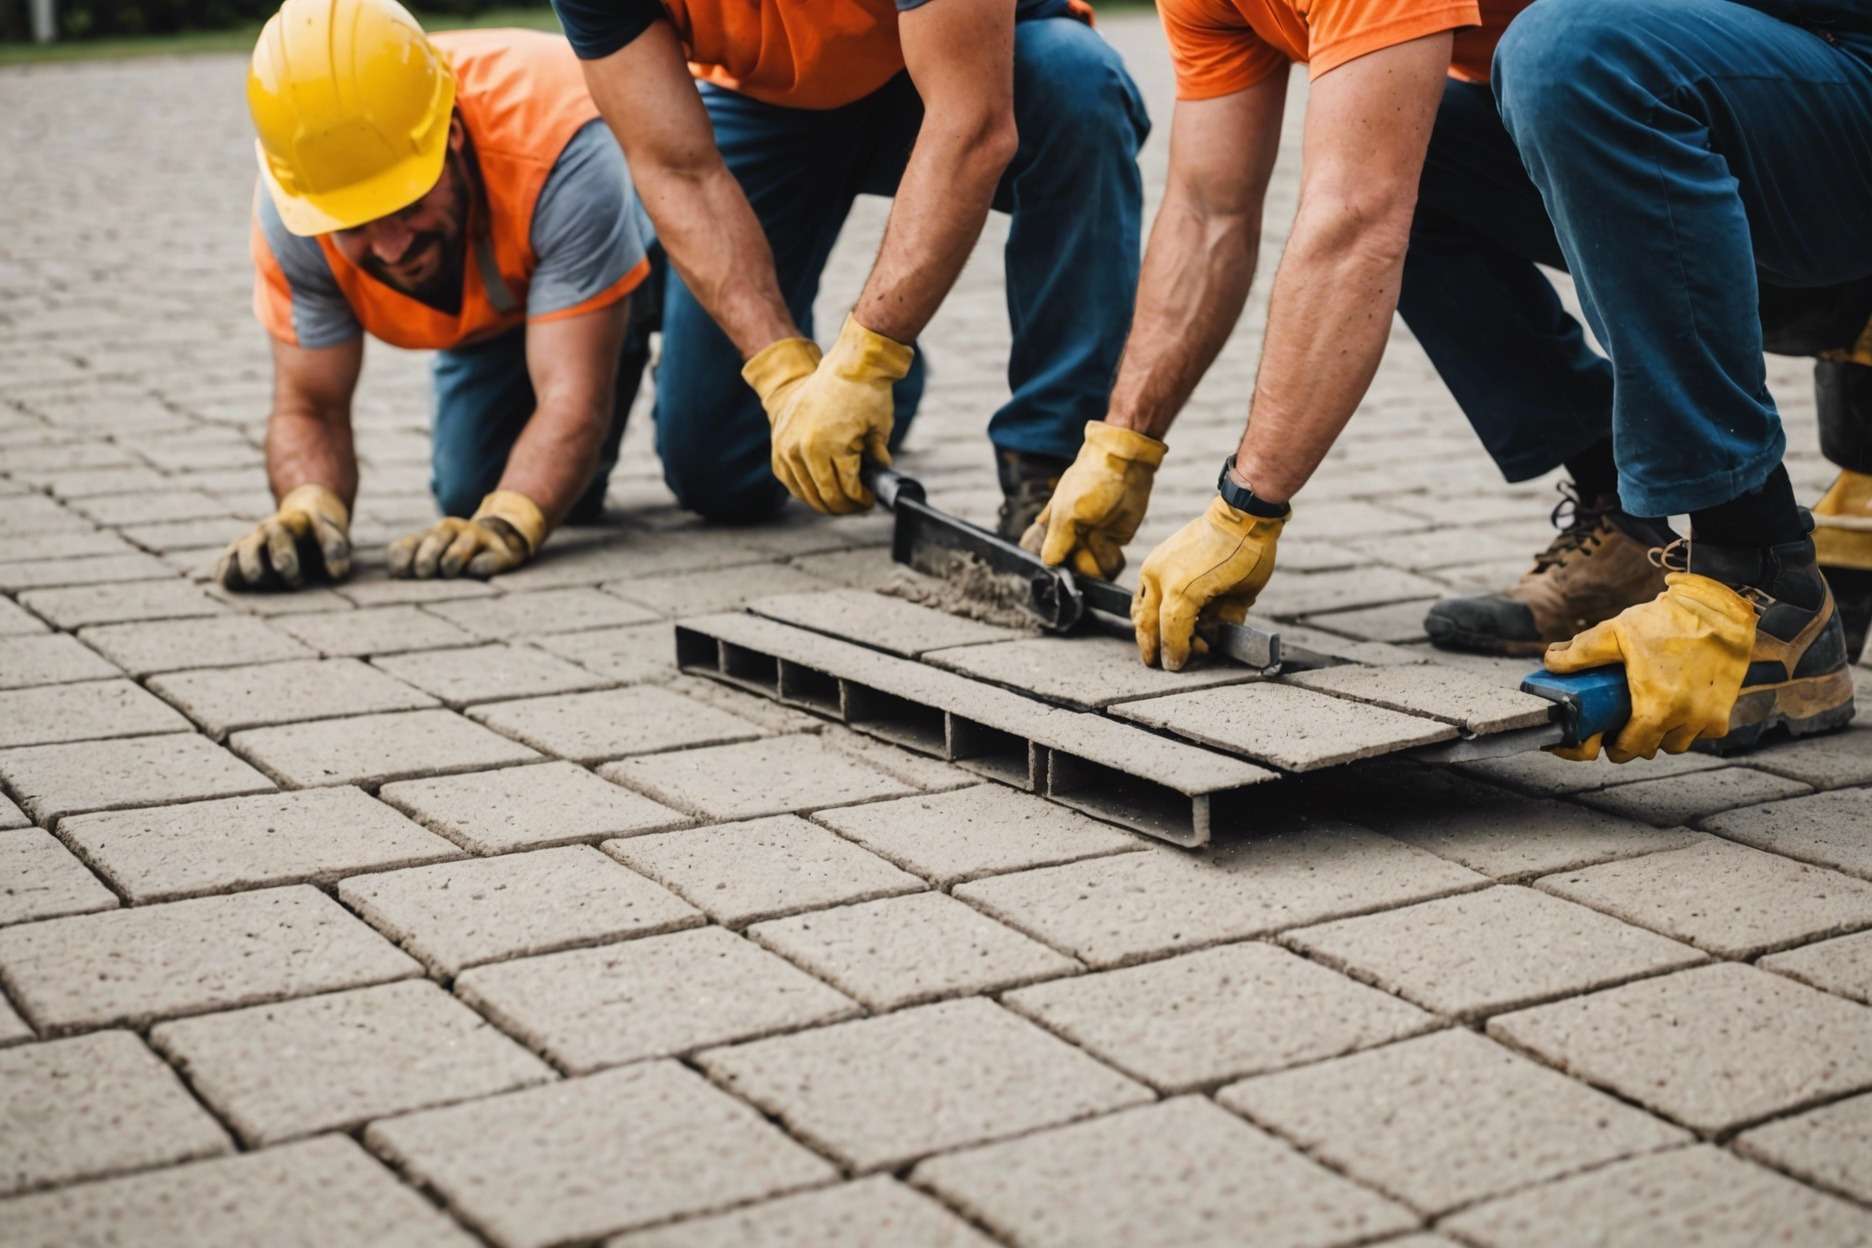
- Start by clearing the area between the pavers. Remove any debris, dust, or old sand to ensure a clean surface for the new joint sand to adhere properly.
- Next, select the right type of sand. Polymeric sand is recommended for its ability to harden and resist weeds and insects. Make sure the sand is suitable for the type of pavers and the weather conditions in your area.
- Before applying the sand, make sure the pavers are completely dry. Moisture can affect how the sand sets and can lead to uneven settling.
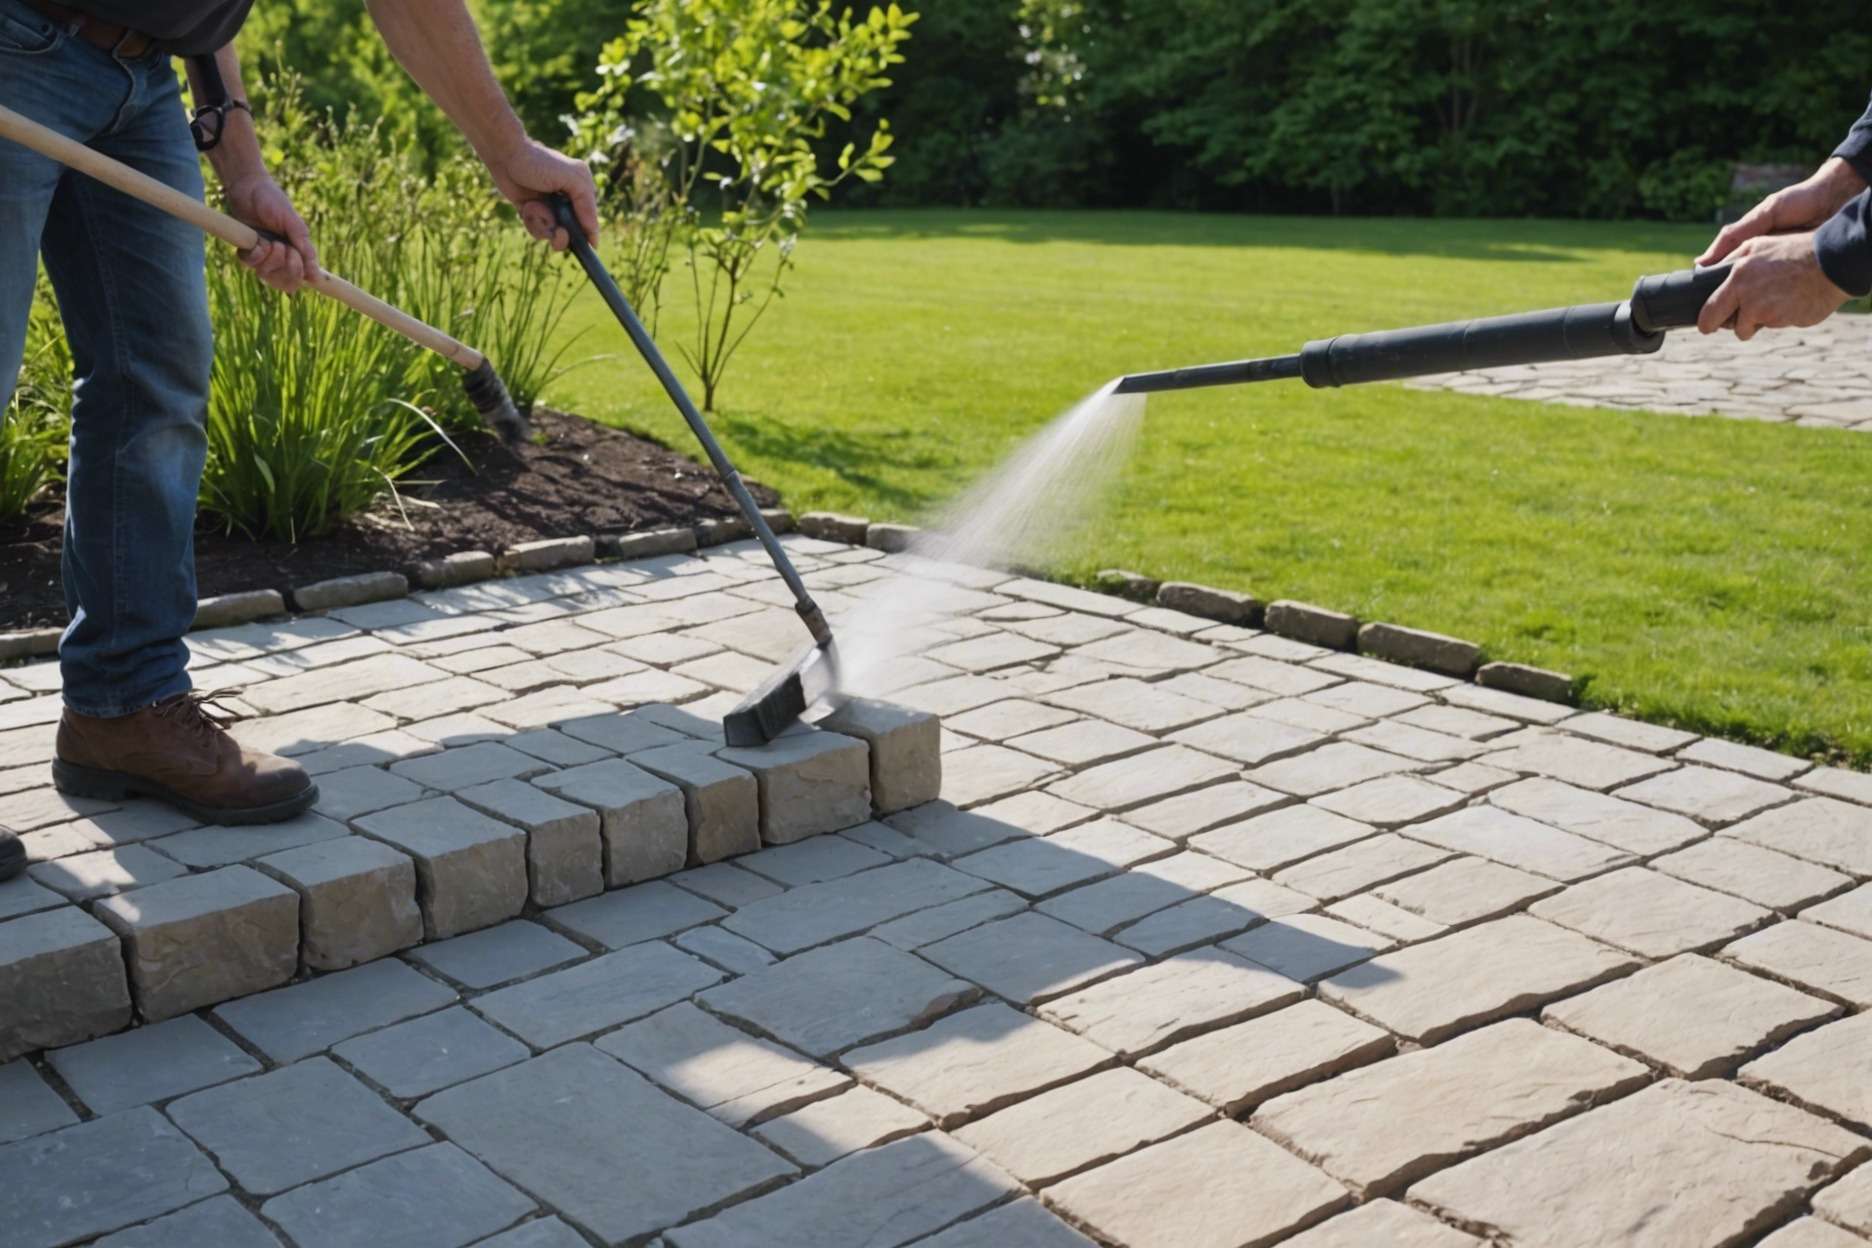
- Pour the sand over the paver surface and use a broom to sweep it into the joints. Fill the joints completely, ensuring that the sand is packed tightly.
- After sweeping the sand into the joints, use a compactor to help it settle properly. This step helps the sand fill any voids and creates a more stable base.
- Once the joints are filled, remove any excess sand from the surface of the pavers with a soft brush to prevent hazing.
- Finally, activate the polymeric sand by lightly misting it with water. Follow the manufacturer’s instructions for the amount of water and application method. This step helps the sand to harden and lock the pavers in place.
- Allow the installation to dry and set according to the manufacturer’s recommended time before using the paved area. This ensures the joint sand fully stabilizes, providing a durable and long-lasting finish.

Maintenance Tips for Long-Lasting Joint Sand
- Maintaining the joint sand between pavers is vital for the longevity of your installation. Using sealers can protect the sand from being washed away by elements like rain or wind. Periodically topping up the sand will also help maintain its effectiveness.
- Polymeric sand is a top choice for paver installations due to its ability to bind and stabilize paver joints. When activated by water, it forms a strong, durable matrix that resists washouts, weeds, and pests. This makes it ideal for areas exposed to weather.
- Regular jointing sand, while economical, tends to be less stable and can lead to issues such as weed growth and insect infestation. To combat this, applying a joint stabilizing sealer after the pavers have cured can greatly improve its resistance.
- For installations requiring water permeability, consider using resin-based sands or permeable jointing compounds. These materials allow water to pass through while maintaining the structural integrity of the paver system. Learn more about permeable options for pavers here.
- It’s important to follow manufacturer guidelines for the installation of any jointing material to ensure optimal performance. This includes proper timing relative to weather conditions to avoid premature exposure to rain.
- Regular maintenance, such as sweeping and deep cleaning every two months, is recommended to preserve the integrity of the paver joints. For professional installation and maintenance advice, consider our paver services.
- If you’re planning a new paver installation or need to update your existing setup, don’t hesitate to get a free quote from us to ensure the best results with your project.

FAQ
What is the primary function of joint sand in paver installations?
Joint sand is essential for filling the gaps between pavers, which locks them together and helps distribute weight evenly across the surface. This function is crucial for maintaining the structural integrity and extending the lifespan of the installation.
What are the different types of sand mentioned in the article for paver installations?
The article discusses several types of sand, including polymeric sand, which is recommended for its durability and ability to form a strong bond when wet. Mason’s sand, which has finer particles and requires more frequent replenishment, and concrete sand, which is coarse and mainly used for the base layer rather than joint filling due to its tendency to erode.
Why is polymeric sand highly recommended for paver installations?
Polymeric sand is preferred because it resists erosion, prevents the growth of weeds, blocks insects more effectively, and is available in various colors to match different paver styles. It can also last up to 10 years, making it a durable choice for securing paver installations.
What should be considered when choosing the right type of sand for a paver installation?
Key considerations include the climate of the area, as polymeric sand is better for regions with heavy rainfall due to its resistance to washout. The type of pavers used may also dictate the sand choice for optimal fit and stability, and the expected traffic level, as high-traffic areas benefit from the durability of polymeric sand.
Can you provide a step-by-step guide to applying joint sand?
- Clear the area between pavers from debris and old sand.
- Choose the right type of sand, preferably polymeric sand for its hardening properties.
- Ensure the pavers are dry before application.
- Evenly sprinkle the sand over the paver surface and sweep into the joints with a broom.
- Compact the sand to ensure it fills the joints completely and settles properly.
- Brush off any excess sand from the surface to prevent hazing.
- Lightly mist the sand with water to activate the polymeric properties and allow it to harden.
- Let the installation set as recommended before using the area.
How can you maintain the effectiveness of joint sand over time?
Maintaining joint sand involves using sealers to protect it from elements like rain or wind, periodically topping up the sand to preserve its effectiveness, and employing regular maintenance routines like sweeping and deep cleaning every two months. For less stable sands like regular jointing sand, applying a joint stabilizing sealer after the pavers have cured can improve resistance to weeds and pests.
